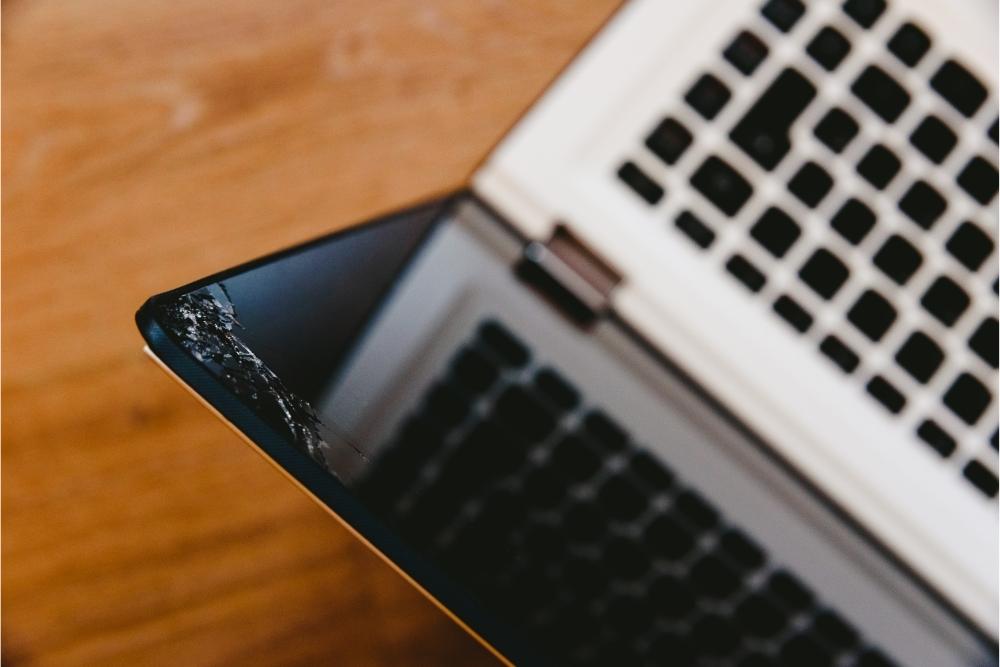
If you have a broken laptop screen, it's time to get a new one!
In this post, we'll give you the steps to take to replace your broken screen. We'll cover what type of replacement screen you need, the required tools, and how to replace it yourself. It's actually not difficult at all!
What should you do if your laptop freezes or crashes?
Poor performance on a computer can lead to frustration with your machine. Still, fortunately, many things can be done how best deal with faulty performance when interacting with a computer. Many common problems can affect your computer and software, which may be caused by the hardware and others by the software itself.
How to replace a broken laptop screen?
When it comes to computers, many factors impact their performance. From hardware components to its operating system and installed software, there are countless ways in which you can improve your computer's performance. When your screen has been damaged beyond repair, it is time to replace it with a new one. Here we will discuss how you remove the old screen from your laptop and install a new one in the place. We'll also tell you the tools you'll need to get this job done properly.
Step 1 -Remove the old screen
Get a head screwdriver and turn off your computer.
Next, disconnect the power, hard drive, and all other external devices except the monitor.
Next, you need to remove the keyboard and remove all screws from the sides of your laptop. Hold on to any screws that fasten the keyboard to ensure that you don't lose them. After removing all screws from your machine, disconnect all cables from your device. If you can access it, disconnect the battery as well. Use appropriate caution when doing so to avoid any damage to your machine.
Next, remove the screws on both sides of the screen.
Now you need to peel back the bezel that goes around your laptop's screen. It is held in place using small plastic clips or a thin piece of plastic at the corners. Lift it back using a flathead screwdriver to break any clips holding it in place. The hinges on your screen should now be visible, and you can pull out the bezel completely from your machine by carefully pulling out each side, which will separate from their respective hinges. Be sure to still handle these pieces with care as they are sometimes connected to the cable that comes from your laptop's frame at its base.
Now it's time to remove the old screen from your laptop. If it was secured by screws, you'd need to remove them from the screen to free it from your machine. You can use a flathead screwdriver to pry the old screen from its position on your device. Try not to snoop on any cables because doing so could break them and damage your laptop even further. Once you are sure that the screen has been removed, wipe down dusty parts of your frame with a soft cloth and put back any screws you removed earlier. You will also need to clean out the dust caused by opening up your laptop so that your new screen can be installed appropriately.
Step 2 -Install the new screen
You are now ready to install the screen that you just removed. This is not difficult and will only require a few minutes of work. Lay the new screen on your laptop carefully to not damage any of your parts during this step.
First, attach your new screen to your machine using its supplied cables. You should Attach one end to the back of the screen and connect it with the other end to a connector on your motherboard's video adaptor. Within half an hour or so, this process should be completed, and you can then turn on your machine once again for further use.
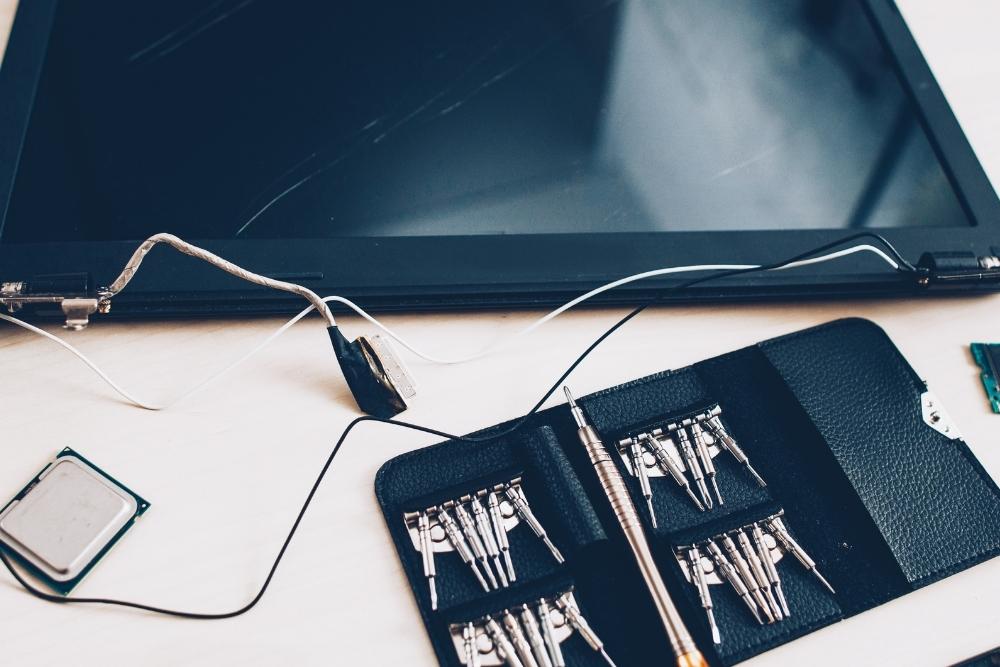
Tools needed to replace a broken laptop screen
Here we have listed the tools you'll need to complete this task. You may not necessarily need all of these tools to get the job done, but they will definitely come in handy. It's best to have them on hand when you begin this project.
- Phillips head screwdriver
- A flathead screwdriver
- Plastic pry tool
- A small bag for storing your screws and any other small parts that have been removed from your machine.
- A can of compressed air
- An exacto knife
- A pair of tweezers
Step 3 -Installing the new screen
You're now ready to install the new screen on your laptop. After you've installed this, great things are sure to be in store for you and your computer!
Turn on your laptop and make sure it boots appropriately with all its parts working usually. Install the battery if there is one on your machine. Next, connect the monitor cable to the back of your monitor. Now connect it to your motherboard's video adaptor connector. Turn on your computer and make sure everything works as usual.


